
Sub-Total: $0.00
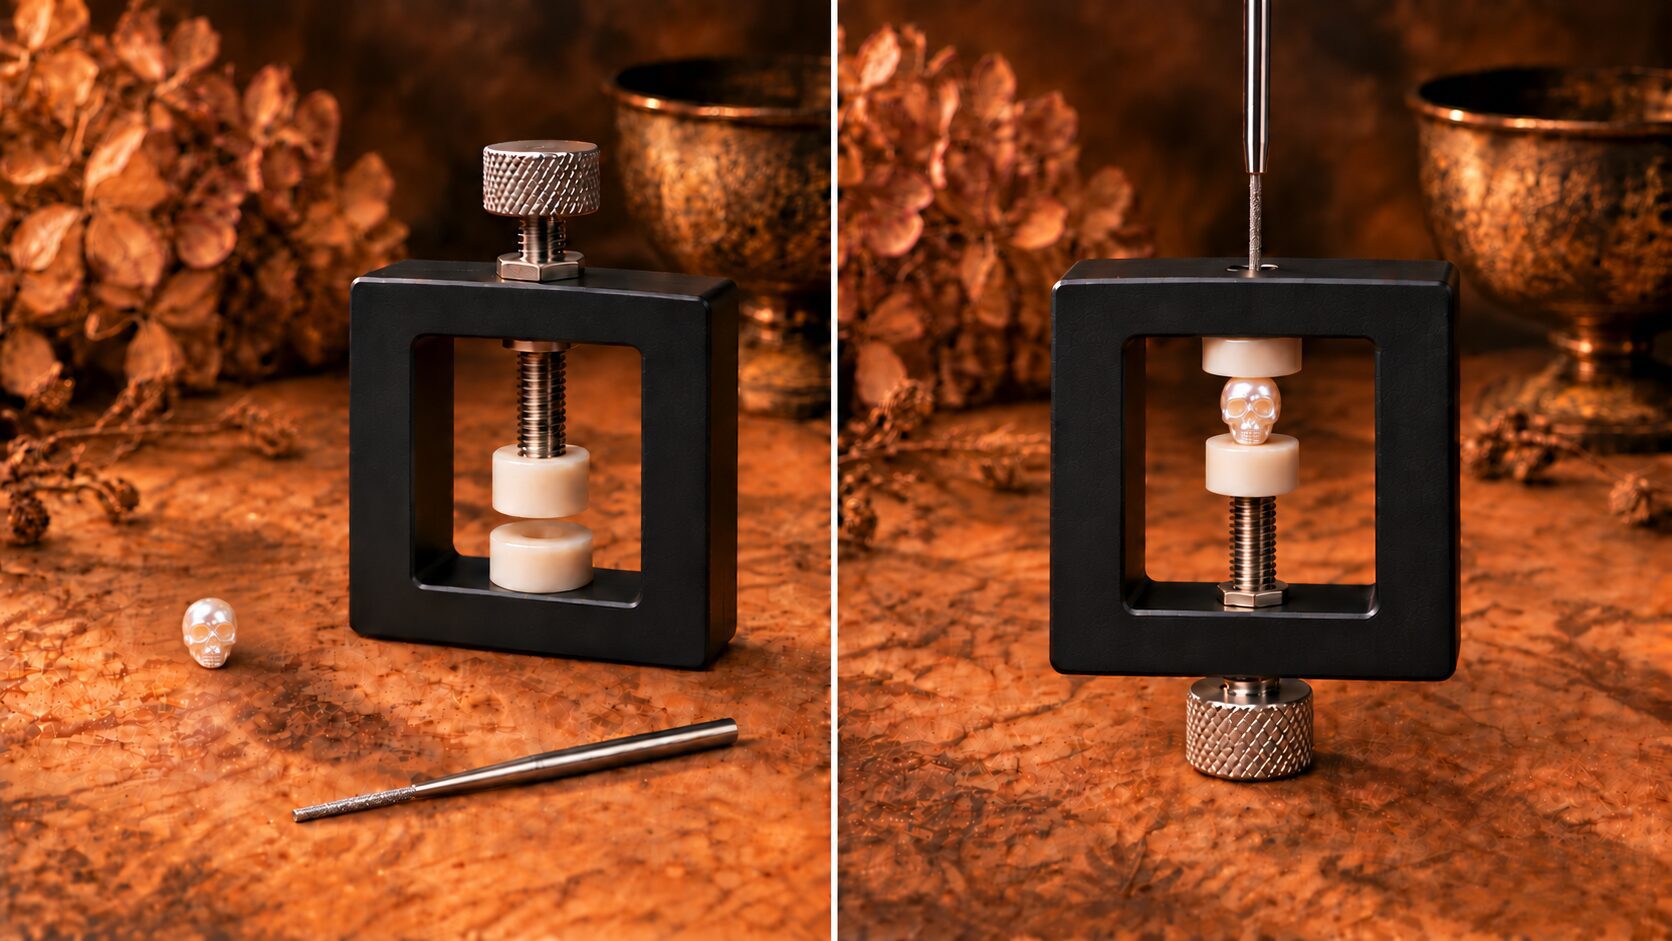
How to Drill a Pearl Without Cracking It: A Step-by-Step Guide for Jewelry Makers
An undrilled freshwater pearl gives you more freedom in your jewelry designs, but drilling it requires patience. Pearls are beautiful, layered, and relatively soft, with a Mohs hardness of approximately 2.5–4.5. That delicate nacre can chip, discolor, or crack if the bit overheats or catches.
The good news? With the right bit, steady support, and a light touch, you can create a clean hole without damaging the pearl.
If you’re beginning a new jewelry project, you can also explore the TextureSmith shop for design inspiration and materials.
What you’ll need
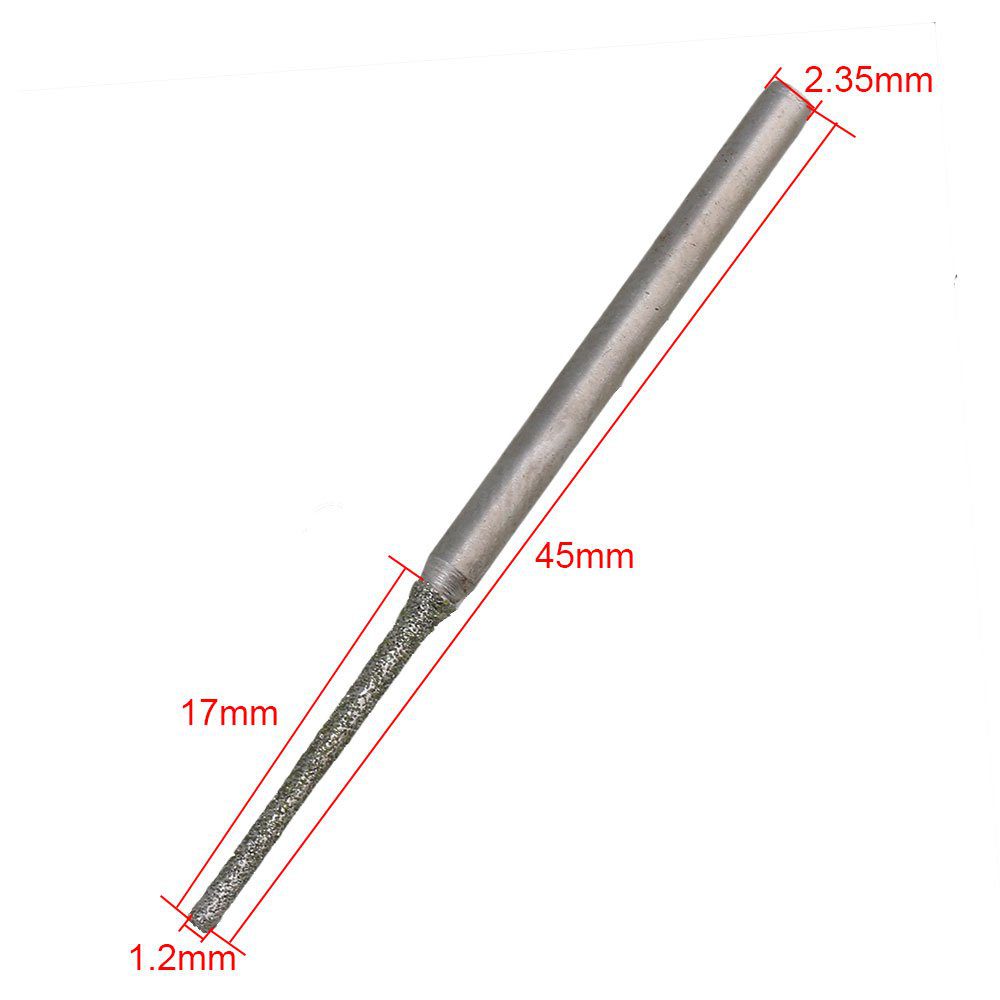
- A diamond-coated drill bit, approximately 0.8–1.0 mm for most freshwater pearls
- A rotary tool, flex shaft, or micro drill
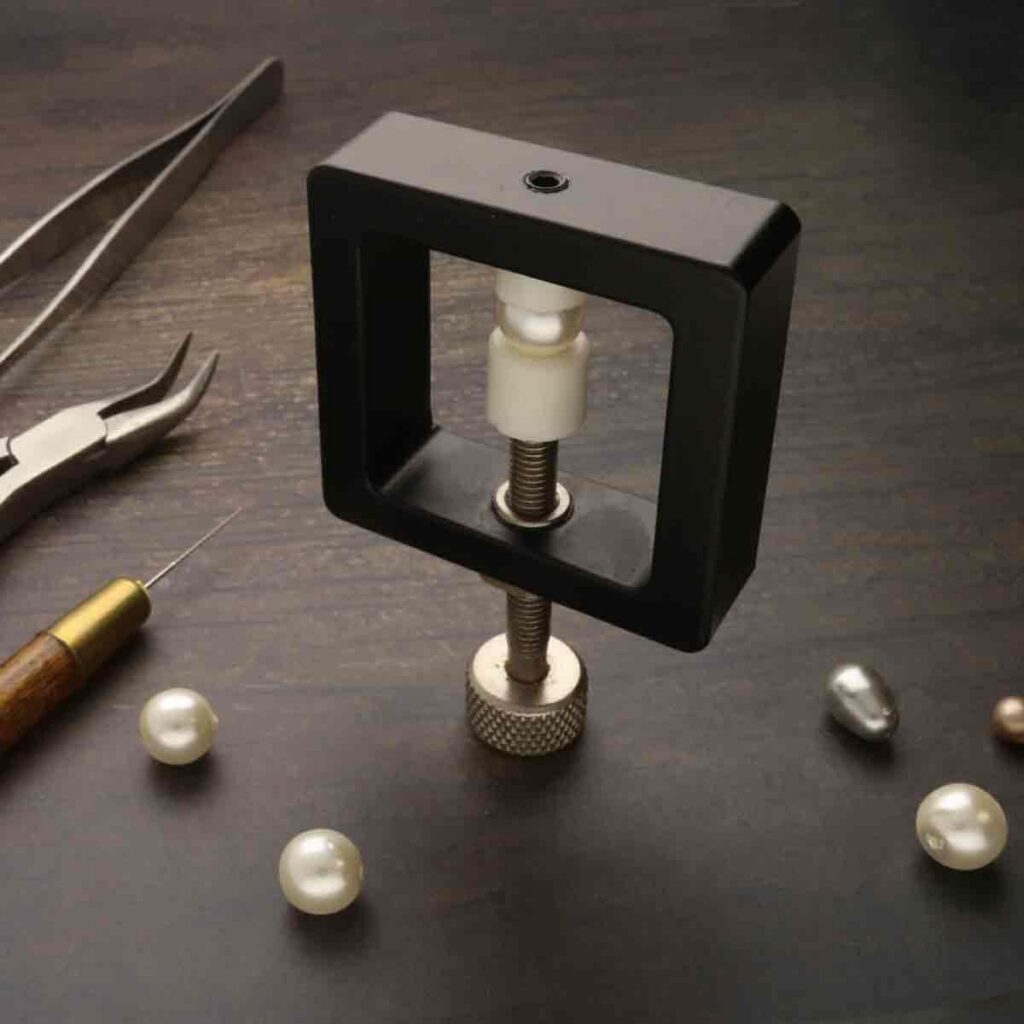
- A bead and pearl drilling vise with brass or nylon cups, or a stable wood block
- Water or a light lubricant for cooling
- Eye protection
- A fine marker or scribe
- A soft cloth for handling and cleaning
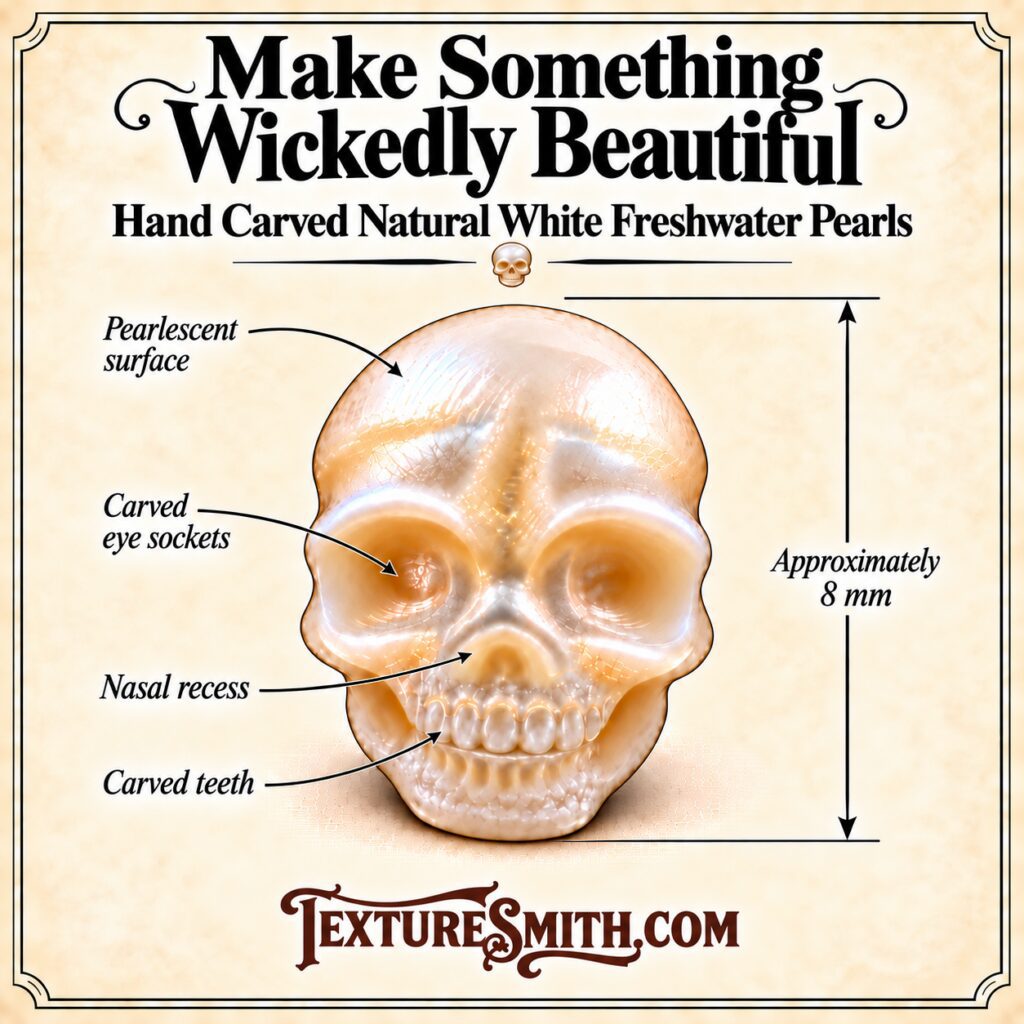
- A skull pearl approx 8mm
Avoid ordinary steel drill bits. They dull quickly against nacre and are more likely to catch, overheat, or cause cracking.
How to drill the pearl
1. Inspect and mark the pearl
Closely exam the pearl before you begin. Avoid obvious cracks, pits, or weak-looking areas.
Mark the entry point with a fine marker. Then mark the intended exit point on the opposite side, keeping both marks on the same axis. Make a tiny starter nick at the entry point. This gives the bit somewhere to settle instead of skating across the curved surface.
2. Secure the pearl
Support the pearl in a vise fitted with brass or nylon cups. Tighten it just enough that it cannot slip or spin.
You can also rest the pearl on a small wood block, provided it is stable and fully supported. Bare metal jaws can scratch the nacre, while too much pressure can crush or crack it.
3. Begin with cooling
Keep the drilling area wet with water or a light lubricant. Heat is the enemy when drilling pearls: it can discolor the nacre and damage the layers beneath the surface.
Use a medium-high speed, approximately 8,000–12,000 RPM, with light, consistent pressure. Let the diamond coating do the cutting. Retract the bit every few seconds to clear debris and allow fresh coolant into the hole.
4. Drill halfway from the first side
You have the option to drill all the way through the pearl or to drill one side first and then the other; small pearls can usually be drilled all the way through, but either technique will work.
Hold the bit perpendicular to the pearl and begin slowly. Drill in short intervals rather than forcing the bit continuously.
Stop when you have reached approximately halfway through the pearl. Rinse away the debris and inspect the opening.
5. Rotate and drill from the opposite side
Rotate the pearl 180 degrees and align the second mark with the bit. Create another small starter nick, then repeat the same short, cooled drilling motion.
Continue until the two holes meet in the middle. Drilling from both sides helps prevent blowout and chipping at the exit point.
Finishing the hole
Rinse the pearl and check both openings for chips or hairline cracks. If the hole needs to be slightly larger, enlarge it gently with a hand reamer. Do not use power for this step.
Work slowly, keeping the reamer aligned with the existing hole. A soft cloth can remove the remaining dust when you are finished.
The essential rhythm is simple: secure, cool, drill lightly, retract, and inspect. Take your time. A pearl does not need force. It needs awareness.
What will you make with the first one?
For more jewelry-making ideas, visit the TextureSmith design blog, or contact us if you have questions about working with our pearl or texture materials.
This article contains affiliate links. If you purchase through them, TextureSmith may earn a small commission at no extra cost to you. We only recommend tools we would use in our own studio.


